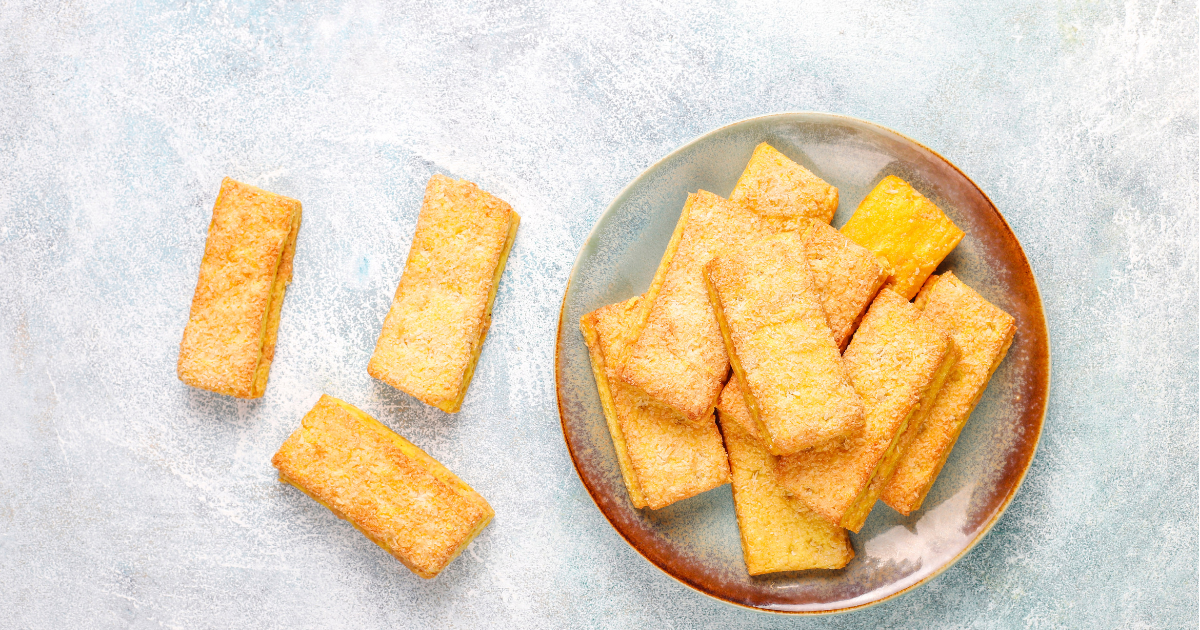
Introduction: The Comfort of Homemade Sweet Potato Biscuits
You know that feeling when the aroma of something baking fills your home, wrapping you in a warm, cozy hug? Sweet potato biscuits evoke exactly that sensation—comfort, nostalgia, and joy all rolled into one delicious bite. Whether you’re preparing a hearty breakfast, a holiday feast, or simply indulging in a midweek treat, this guide will help you craft the perfect batch of sweet potato biscuits. With every flaky, buttery layer, you’ll impress your family and friends—and most importantly, yourself.
Ready to get started? Let’s take a deep dive into this timeless recipe.
Table of Contents
Why You’ll Fall in Love with These Biscuits
Sweet potato biscuits aren’t just any biscuits. They’re a flavorful upgrade to the traditional version, offering a slight sweetness and earthy richness that makes them stand out on any table.
Here’s why they’re a must-try:
- Nutrient-packed: Sweet potatoes are loaded with vitamins A and C, fiber, and antioxidants, making these biscuits a more nutritious alternative to regular ones.
- Incredible versatility: Serve them with everything from honey butter to savory gravies.
- Perfect for any occasion: Breakfast, lunch, dinner, or a special celebration—these biscuits fit right in.
Imagine the buttery, flaky exterior giving way to a tender, sweet interior. Each bite is a testament to the magic of combining wholesome ingredients with time-honored techniques.
Ingredients You’ll Need for Sweet Potato Biscuits
To make these biscuits, you need simple, pantry-staple ingredients. However, the magic lies in how you combine them. Here’s a breakdown of what you’ll need:
Table of Ingredients
| Ingredient | Amount | Purpose |
|---|---|---|
| All-purpose flour | 2 cups | Forms the base structure of the biscuits. |
| Baking powder | 1 tablespoon | Provides the leavening, making your biscuits rise and become fluffy. |
| Salt | 1 teaspoon | Enhances the flavors and balances the sweetness. |
| Cinnamon (optional) | 1/2 teaspoon | Adds a subtle warmth that complements the sweet potato. |
| Butter (cold, unsalted) | 1/2 cup (1 stick) | Creates the layers and gives the biscuits their rich, flaky texture. |
| Mashed sweet potatoes | 1 cup | Adds moisture, flavor, and nutrients. |
| Milk or buttermilk | 1/2 cup | Moistens the dough and adds a slight tang when using buttermilk. |
| Honey or sugar (optional) | 2 tablespoons | Enhances the natural sweetness of the sweet potatoes. |
Step-by-Step Instructions for Perfect Sweet Potato Biscuits
You don’t need to be a baking expert to succeed with this recipe. With clear, step-by-step instructions, you’ll create biscuits that look—and taste—like they came from a professional kitchen.
Step 1: Prepare Your Ingredients
Before you dive in, ensure all your ingredients are ready. Prepping makes the process smooth and enjoyable:
- Peel, boil, and mash the sweet potatoes until they’re smooth. Allow them to cool slightly.
- Measure and sift the dry ingredients (flour, baking powder, salt, and cinnamon). Sifting ensures a light, airy texture.
Step 2: Mix the Dry Ingredients
Combine your flour, baking powder, salt, and cinnamon in a large bowl. This foundational step ensures even distribution of the leavening agent and seasonings.
Step 3: Cut in the Butter
Here’s where the magic begins. Cold butter is crucial—it creates the layers that make your biscuits flaky. Using a pastry cutter or your hands, work the butter into the dry mixture until it resembles coarse crumbs.
Step 4: Incorporate the Wet Ingredients
Gently fold in the mashed sweet potatoes and milk. The goal is to combine them just enough to form a cohesive dough. Overmixing can lead to dense biscuits, so handle with care.
Step 5: Knead and Roll Out the Dough
Once the dough is formed, it’s time to start kneading. This part is crucial for the final texture of your biscuits. However, overworking the dough can lead to tough, dense biscuits—so less is more.
How to Knead Properly:
- Lightly flour your work surface to prevent sticking.
- Place the dough on the surface and gently fold it over itself 4-5 times.
- Avoid applying too much pressure—tender handling leads to tender biscuits.
Once kneaded, roll the dough to about ½-inch thickness. This thickness ensures your biscuits will rise nicely while remaining soft in the center.
Step 6: Cut and Bake Your Biscuits
Cutting the Dough
Now comes the fun part—cutting out your biscuits! Whether you’re using a round biscuit cutter or a simple glass, consistency in size is key to even baking. Here’s how to do it right:
- Press straight down: Don’t twist the cutter. Twisting can seal the edges, preventing a good rise.
- Re-roll sparingly: Gather scraps and re-roll them gently, but try to limit this to avoid tough biscuits.
Baking Time and Temperature
- Preheat your oven to 425°F (220°C) for a crisp exterior and soft interior.
- Arrange biscuits on a baking sheet, leaving a little space between each one for even airflow.
- Bake for 12-15 minutes, or until the tops are golden brown and irresistible.
Creative Variations for Sweet Potato Biscuits
If you’re ready to put your spin on the traditional sweet potato biscuit, consider these variations:
Savory Herb Biscuits
- Add 1 teaspoon of rosemary or thyme to the dry ingredients.
- Serve with soups or stews for a hearty pairing.
Spiced Biscuits
- Add ½ teaspoon of nutmeg or ginger for a warm, spicy twist.
- Perfect for fall gatherings or holiday meals.
Sweet Cinnamon Biscuits
- Mix 1 tablespoon of brown sugar and ½ teaspoon of cinnamon into the dough.
- Drizzle with a simple glaze made from powdered sugar and milk for a dessert-like treat.


Expert Tips for Success
Even seasoned bakers can benefit from a few pro tips:
- Keep everything cold: From the butter to the milk, cold ingredients prevent over-melting, ensuring those beautiful flaky layers.
- Don’t twist the biscuit cutter: When cutting your dough, press straight down. Twisting seals the edges, preventing a high rise.
- Brush with butter: For an irresistible golden finish, brush your biscuits with melted butter before baking.
Serving Suggestions and Pairings
Sweet potato biscuits are incredibly versatile. Here’s how you can serve them for different occasions:
Breakfast
- Pair with scrambled eggs, bacon, and honey butter for a hearty start to your day.
- For a sweet twist, top with apple butter or maple syrup.
Lunch or Dinner
- Serve alongside roasted chicken, turkey, or ham for a comforting meal.
- Use them as a base for a pulled pork slider with coleslaw for a Southern-style delight.
Special Occasions
- Impress guests by pairing these biscuits with a charcuterie board featuring cured meats, cheeses, and jams.
Storage and Reheating Tips
Proper storage ensures your biscuits stay fresh and delicious. Follow these tips:
Storing Biscuits
- Room Temperature: Store in an airtight container for up to 3 days.
- Refrigeration: Extend freshness by refrigerating for up to 5 days.
- Freezing: Wrap individually and freeze for up to 3 months.
Reheating Biscuits
- Microwave: Heat for 15-20 seconds to restore softness.
- Oven: Reheat at 350°F (175°C) for 5-7 minutes for a crisp exterior.
FAQ Section
Can I make sweet potato biscuits ahead of time?
Yes! You can prepare the dough in advance and refrigerate it for up to 24 hours. When ready to bake, let the dough sit at room temperature for about 15 minutes.
Can I substitute milk with a non-dairy alternative?
Absolutely. Almond milk, oat milk, or soy milk are great substitutes. Buttermilk alternatives can also work if you want to keep that tangy flavor.
What can I use if I don’t have a biscuit cutter?
A drinking glass or a round cookie cutter works just as well. Just be sure not to twist as you cut to maintain a good rise.
Conclusion: Bring Warmth and Flavor to Your Table
There’s something special about homemade sweet potato biscuits. They’re not just food—they’re a gesture of care, comfort, and tradition. Whether you’re cooking for your family, hosting friends, or simply treating yourself, these biscuits will fill your home with warmth and your table with joy.
Now it’s your turn to create these delightful biscuits! Try the recipe, experiment with variations, and share your experience with others. Don’t forget to bookmark this guide and come back to it whenever you need a little biscuit inspiration.

